The holidays are approaching, and if you are anything like me, you love this time of the year! Attending holiday events, shopping for gifts, preparing holiday meals, decorating the house, and spending time with family, are just some of the reasons the holidays are precious to me.
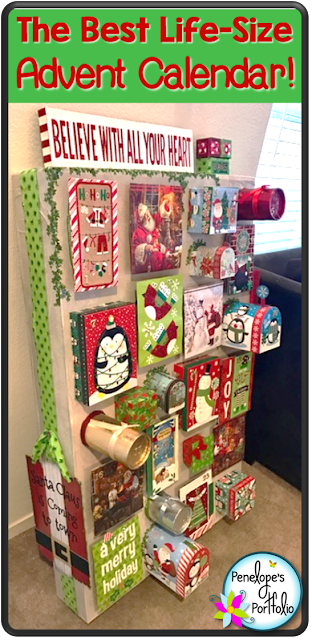
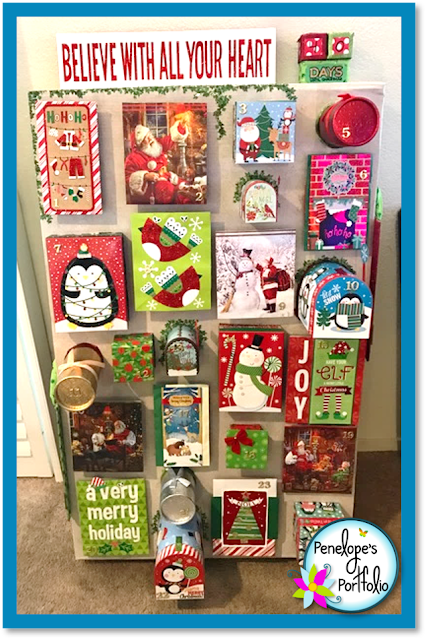
This year, while I was getting my holiday mojo on, I was inspired to make my kids an advent calendar. Hmmm. I didn't know how I was going to make it, but I knew it was going to involve getting rid of an old tv box that had been taking up too much space in my garage for way too long! So my desire to purge a little, mixed with my holiday mood, resulted in an epic life-sized advent calendar!
Want to make one? If so, save yourself some money by hitting the dollar store, (at least that's what I did), and pick up these items.
Here's what you need...
- large TV box (I used a 50")
- a variety of containers (I used plastic containers and gift boxes)
- holiday cards and holiday gift bags
- decorative items (ribbon, stickers, holiday signs, decorative tape, etc.)
- number stickers
- contact paper
- tape
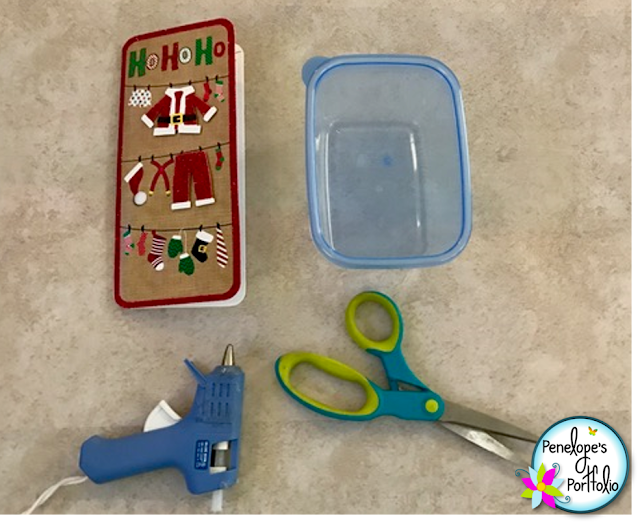
- glue gun and glue sticks
- pencil
- permanent marker
- X-acto knife or other cutting tool
Step 1: Prepare TV box, (or other large cardboard box), by wiping any dust and debris away, and taping sides shut. Cover in contact paper.
 Step 2: Prepare plastic containers by covering lids with greeting cards, cut or folded gift bags. Glue cards or bags to the lids using a hot glue gun. This will create a festive look. Decorated gift boxes may be used as is.
 Step 3: Once you are satisfied with the look of the containers, determine placement of containers by making sure every container fits on top of the box. It may be helpful to take a picture at this point, so you remember where they go.
Step 4: Using a pencil, trace the shape of the bottom of each container onto the covered box.
 Step 5: Cut each shape out using a sharp cutting tool. Some plastic container shapes may need to be cut larger than traced, if the container's size is larger near it's lid.
 Step 6: Hot glue containers into their predetermined locations. You may choose to glue containers so they appear flush to box, or have them pop out. I used different depths to create visual interest. Use decorative tape on certain containers to hide flaws or glue, add extra support, or provide a unique look.
Step 7: Decorate box by adding ribbon, stickers and signs to front, top, and sides of box. I hot glued a sign and a Christmas countdown tracker to the top of my box, ribbon and signs to the sides, and ivy stickers to the top, and around mailbox shaped gift boxes.
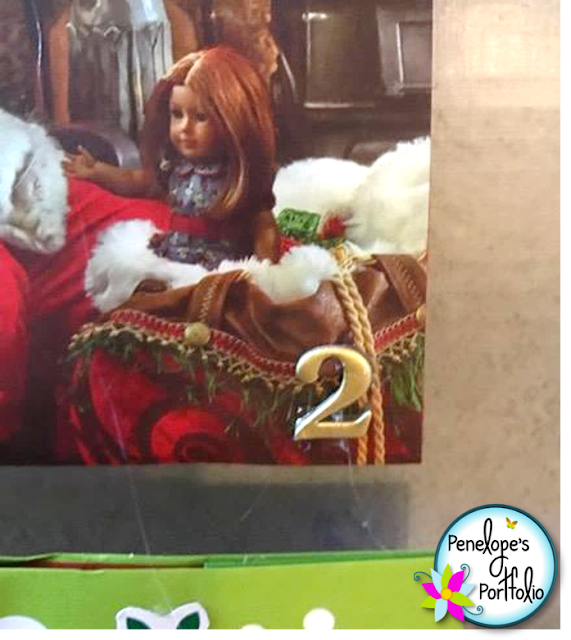
Step 8: Attach number stickers to each container. I hot glued these for added security.
Step 9: Using a permanent marker, write numbers of corresponding lids to each container. This will be helpful should you misplace lids and need to know where they belong.


I think it's wrong for teachers to do a lot of paperwork and it's true when they say kids can't do that so they came up with this site https://freepaperwriter.com/, thanks to it you can easily earn A+ with all the paperwork writers out there
ReplyDeleteDont mind the Karen SkyenotverySweet. It looks amazing. I justdont understand how to child takes the gifts. Greetings from Denmark, I might have language issues, but would have been nice with a picture of a child taking todays gift. Im not sure how this works. Do they have to punch a hand through the decor or just take it down like it was on a shelf? Please respond. I wanna do this. Thanks for the idea - and your explanation in advance. Sincerely Cirkeline.
ReplyDelete